Tuesday, February 23, 2010

Seamless XP on Ubuntu with VirtualBox - part 3 - Seamless Mode


Select Install VBox Guest Additions

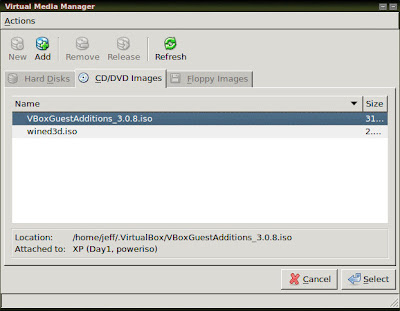
Unmount the Windows XP installation media and mount VBoxGuestAdditions_version.iso where our version is 3.0.8


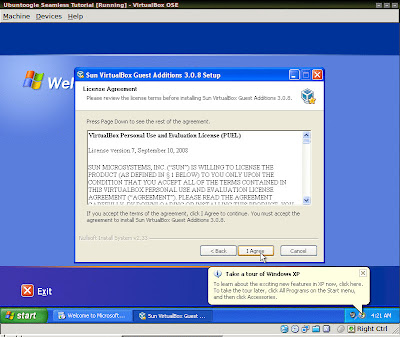
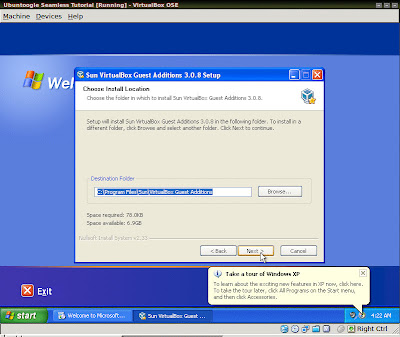
You'll be greeted by an oddly familiar Windows Installation screen. Follow the Dialogue 'Next'
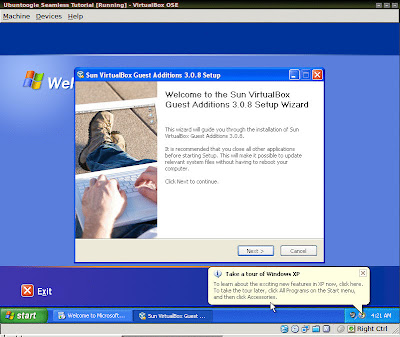


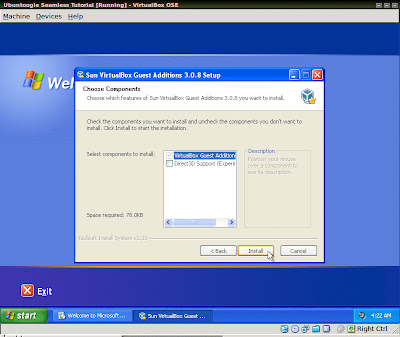
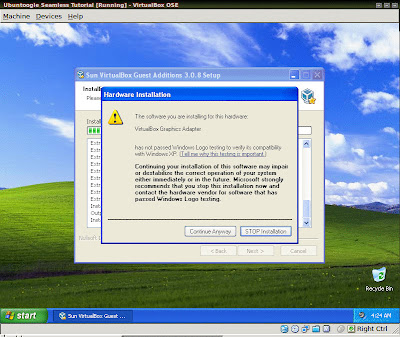
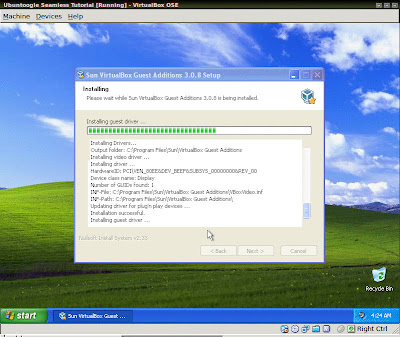
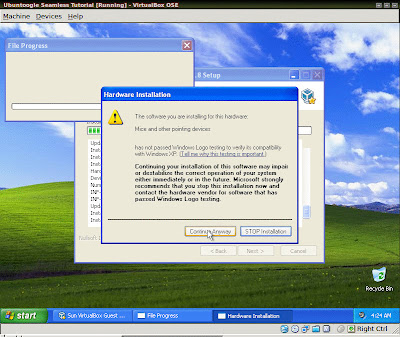
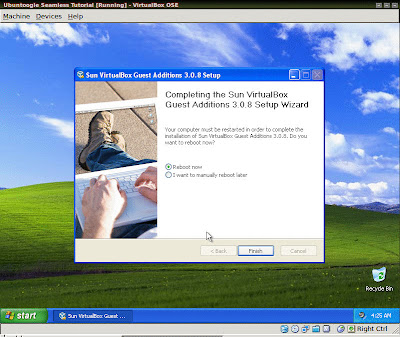


After allowing the VM to reboot you'll see some more oddly familiar tokens of greeting -- errors and other annoying system tray notifications
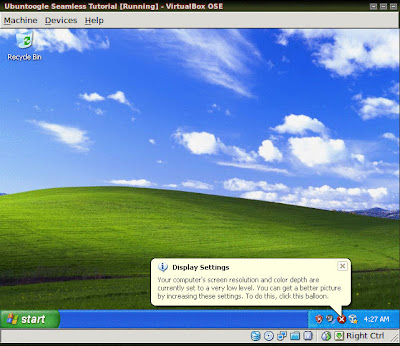


Right-click on the red shield otherwise known as the Microsoft Security Center
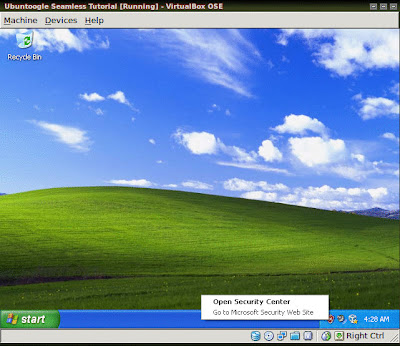


Open Security Center
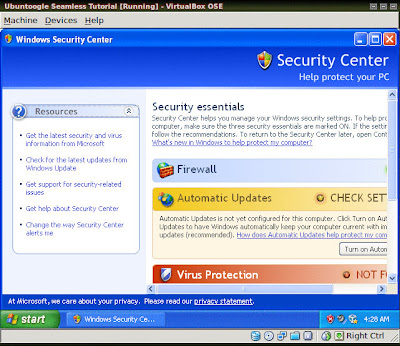


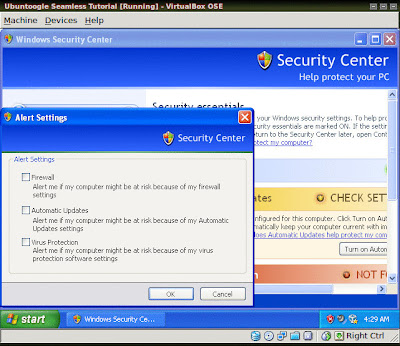
Change the way Security Center alerts me
Uncheck all the boxes unless you're planning on doing some internet and email with Windows, I don't suggest it...


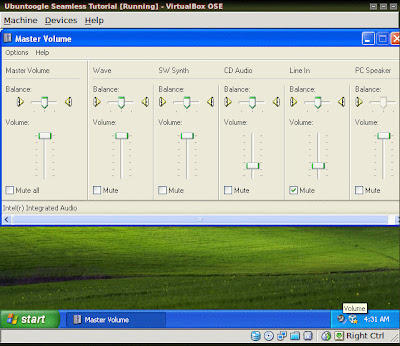
Right-click and open Volume Control
Turn the Master Volume up


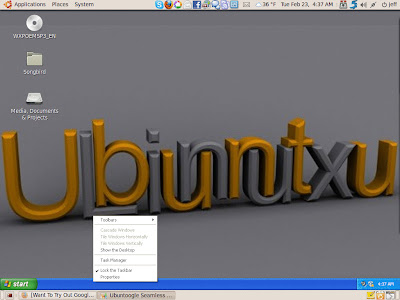
Right-click the Taskbar and open Properties


Click 'Customize'-button on the 'Always hide inactive icons' line
Change them all to 'Always Hide'
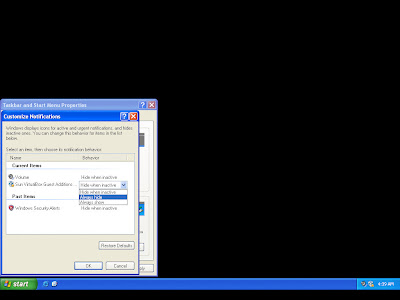


Apply and close the inactive icons window with the 'OK'-button
Check all the boxes except 'Show the clock'
Click 'Apply'-button
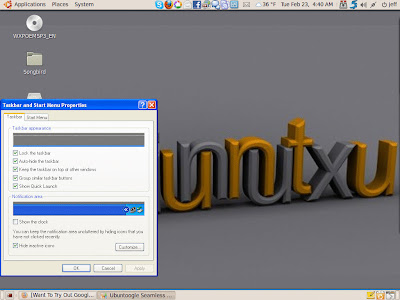


There you go! You're finished!

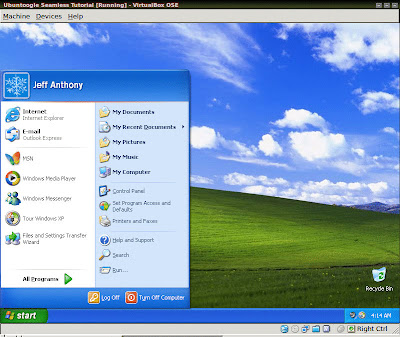
Here's a screenshot of my setup where I'm using Crossloop and the Silverlight Facebook Client beta on Seamless XP and you can see the Terminal in the background.


Here's a screenshot of those apps spread across the Compiz cube

Seamless XP on Ubuntu with VirtualBox - part 2 - Install XP

Once you set up your VM and insert your XP disc 'Run' the VM
It will now be installed from CD/DVD onto the partitioned area of Hard Drive

>

Enter


F8


C


Enter


Enter


Enter


Upon reboot of the VM you will see the familiar Windows logo


And now the real installation can begin


Click 'Next' on the Regional configuration window


Personalize the System


Enter your Registration key


Computer Name and Administrator Password


Date and Time Settings


Select typical Netowrk settings


Keep the Default Workgroup unless you have reason otherwise


These screens made me chuckle


Eventually you'll see the last series of configuration screens


I suggest turning off Automatic Updates


Skip Network Setup


I suggest not Registering unless you need to


Finish


Now you've installed Windows on the VM.
From here I installed Silverlight 4 and the Silverlight Facebook client (Moonlight is not quite there yet), My Crossloop Expert assistance reverseVNC server and Everquest for playing on EQEmu.

Once you've installed whatever you like go ahead and move on to part 3 - Seamless Mode

Monday, February 22, 2010

Google Picasa 3 on Ubuntu 9.10


Picasa has a Debian Linux install which works wonderful on Ubuntu.

The download page link is http://picasa.google.com/linux/download.html


Save


Be sure to grab the right one or you'll get this error screen


Double-click the download status to reach this window and press the 'Install Package' button on the upper right corner


Click 'Yes' to install lib32nss-mdns


Would you like to integrate your webcam images with Picasa? Press Yes if so.


Once Installed you can run it from Applications > Graphics > Picasa. The first time you will have to agree to the EULA.